THE ART OF CELEBRATING AT HOME ✧ LITTLE TRADITIONS, LASTING MEMORIES
✧ December HouseA HOME FOR THE HOLIDAYS

Home / Handmade

Paper Star Christmas Ornaments with a Layered Fold

Explore paper star christmas ornaments with practical steps, classic details, and thoughtful ideas for a warm holiday season.

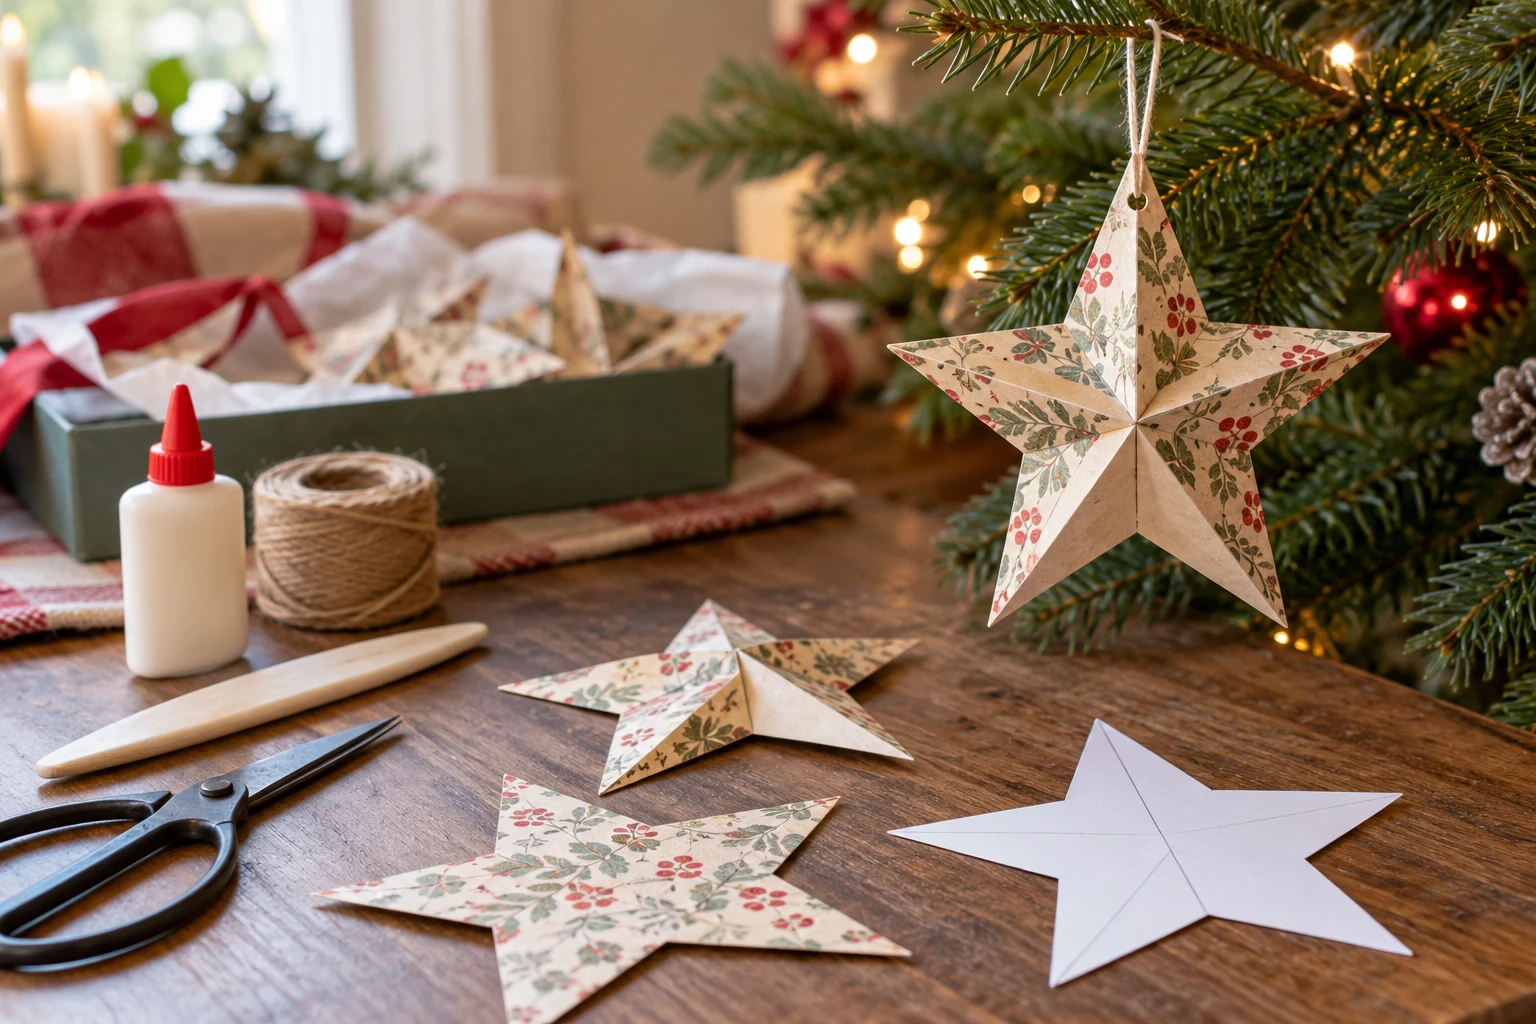
Paper Star Christmas Ornaments with a Layered Fold — editorial illustration
AI-generated editorial illustration for December House.

Layered paper stars give the tree a soft handmade texture using supplies that are easy to find. This version uses a simple flat star pattern and a folded center line, so you can begin without learning a complicated origami sequence.

Make a paper pattern

Draw or trace a five-point star about 4 inches wide on scrap paper. Fold the pattern in half to check that the two sides are balanced, then trim if needed. Use it to cut two matching stars from medium-weight paper. Very heavy cardstock can be difficult to fold neatly along the center.
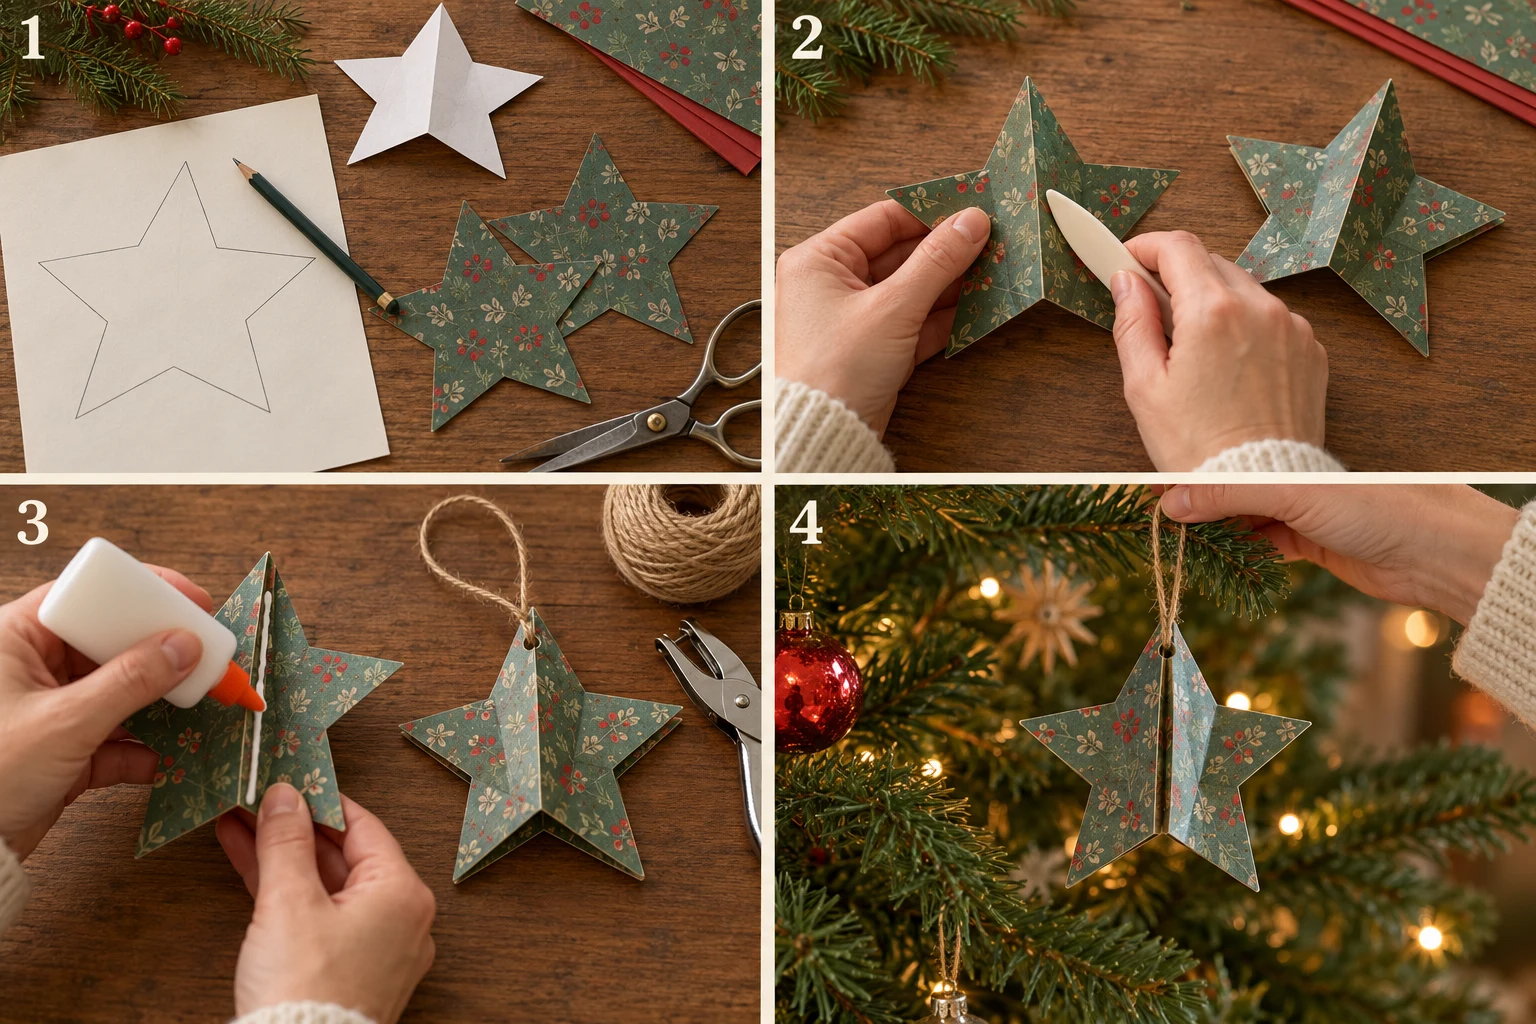
Make a paper pattern: visual illustration for this stage
1. Make a paper pattern. View full visual guide ↗

Fold and test the layers

Score a gentle line down the center of each star with a suitable blunt tool, then fold along it. Place the two shapes together and check that their points align. If the paper cracks, choose lighter stock rather than pressing harder. A slightly visible crease is part of the handmade character.

Fold and test the layers: visual illustration for this stage
2. Fold and test the layers. View full visual guide ↗

Join the middle and add a hanger

Apply a narrow line of suitable paper glue along the center fold and join the two layers. Let them dry according to the adhesive instructions. Make a small hole near the top point and thread a short hanging loop through it. Keep the hole away from the edge so it does not tear immediately.

Join the middle and add a hanger: visual illustration for this stage
3. Join the middle and add a hanger. View full visual guide ↗

Hang where the shape can open

Gently spread the paper layers and hang the star on an outer branch. Keep it away from bulbs, heat, and damp areas. Store the finished stars flat in a shallow envelope or box when the season ends. Cut one spare pattern and tuck it into the container for next year’s repairs.

Hang where the shape can open: visual illustration for this stage
4. Hang where the shape can open. View full visual guide ↗

Keep a little inspiration close

A LITTLE GIFT FOR YOU · FREE PRINTABLE

Make room for a calmer Christmas

Organize gifts and holiday shopping with our free US Letter planner.

Get my free printable ↓No sign-up needed. Just print and enjoy.

FROM THE DECEMBER HOUSE STUDIO

A lovely finishing touch

Our Watercolor Christmas Gift Tag Collection includes 24 printable tags, six watercolor-style illustrations, and US Letter and A4 files. Personal use. Planned price: $1.99.

Explore the gift tag collection

KEEP THE INSPIRATION GOING

One lovely idea leads to another

Ⓟ Save this idea