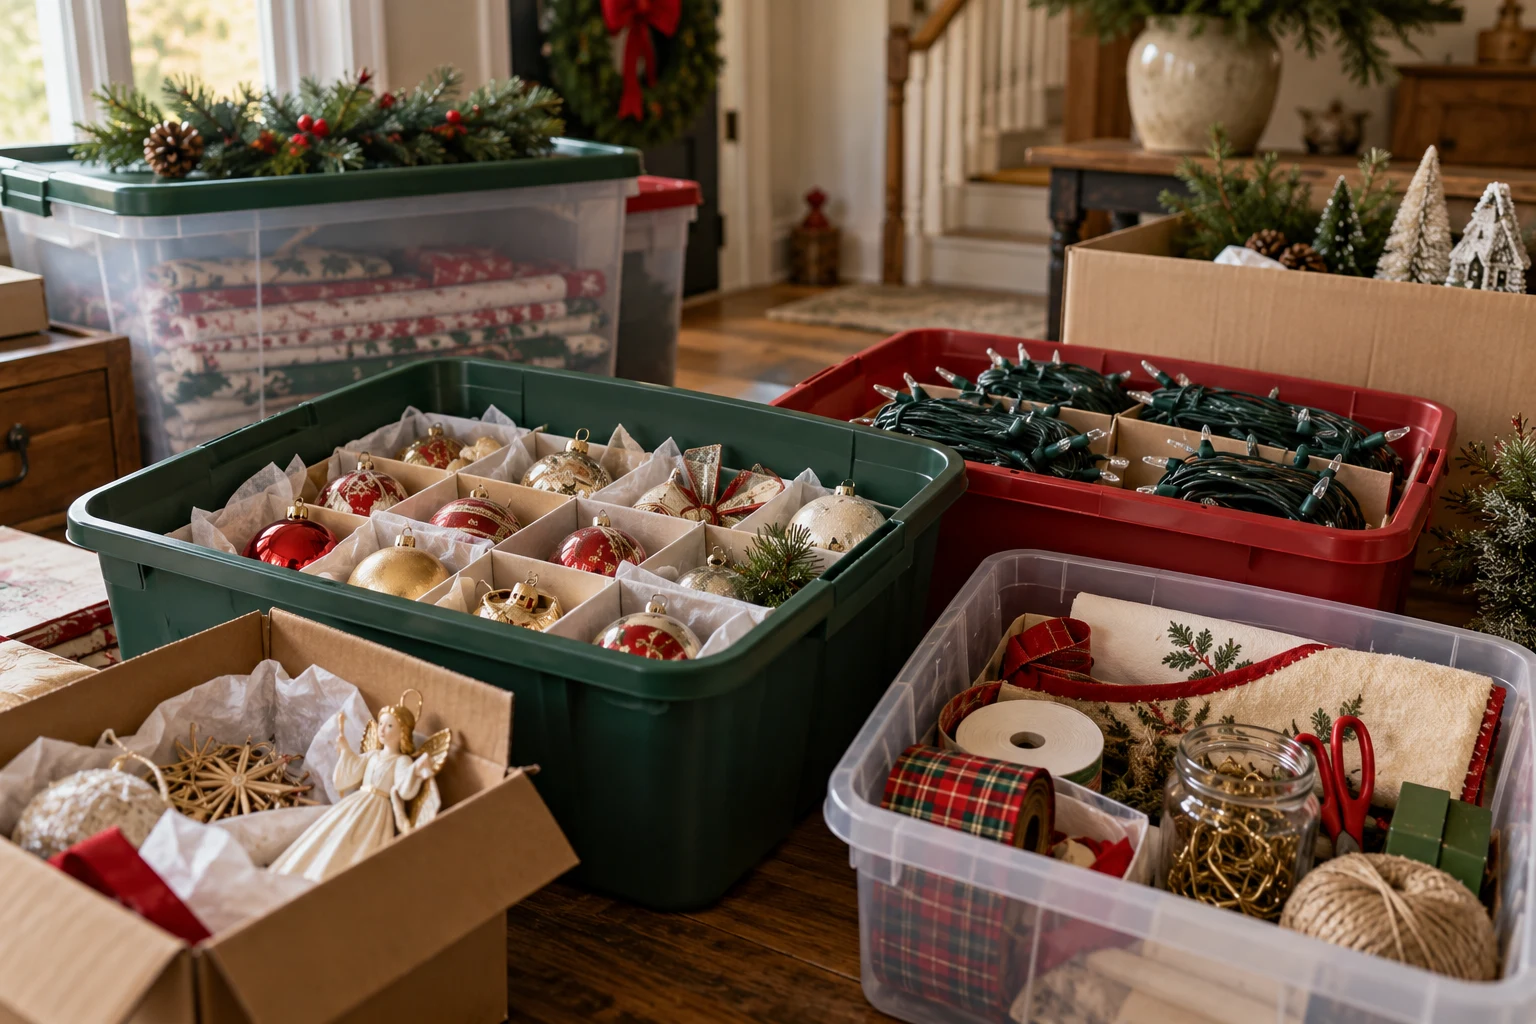
Ribbon brings a soft line to a Christmas tree and helps connect ornaments collected over many years. You do not need to wrap one long strip tightly around the branches. Short sections are often easier to shape, adjust, and put away.
Test ribbon before cutting the roll
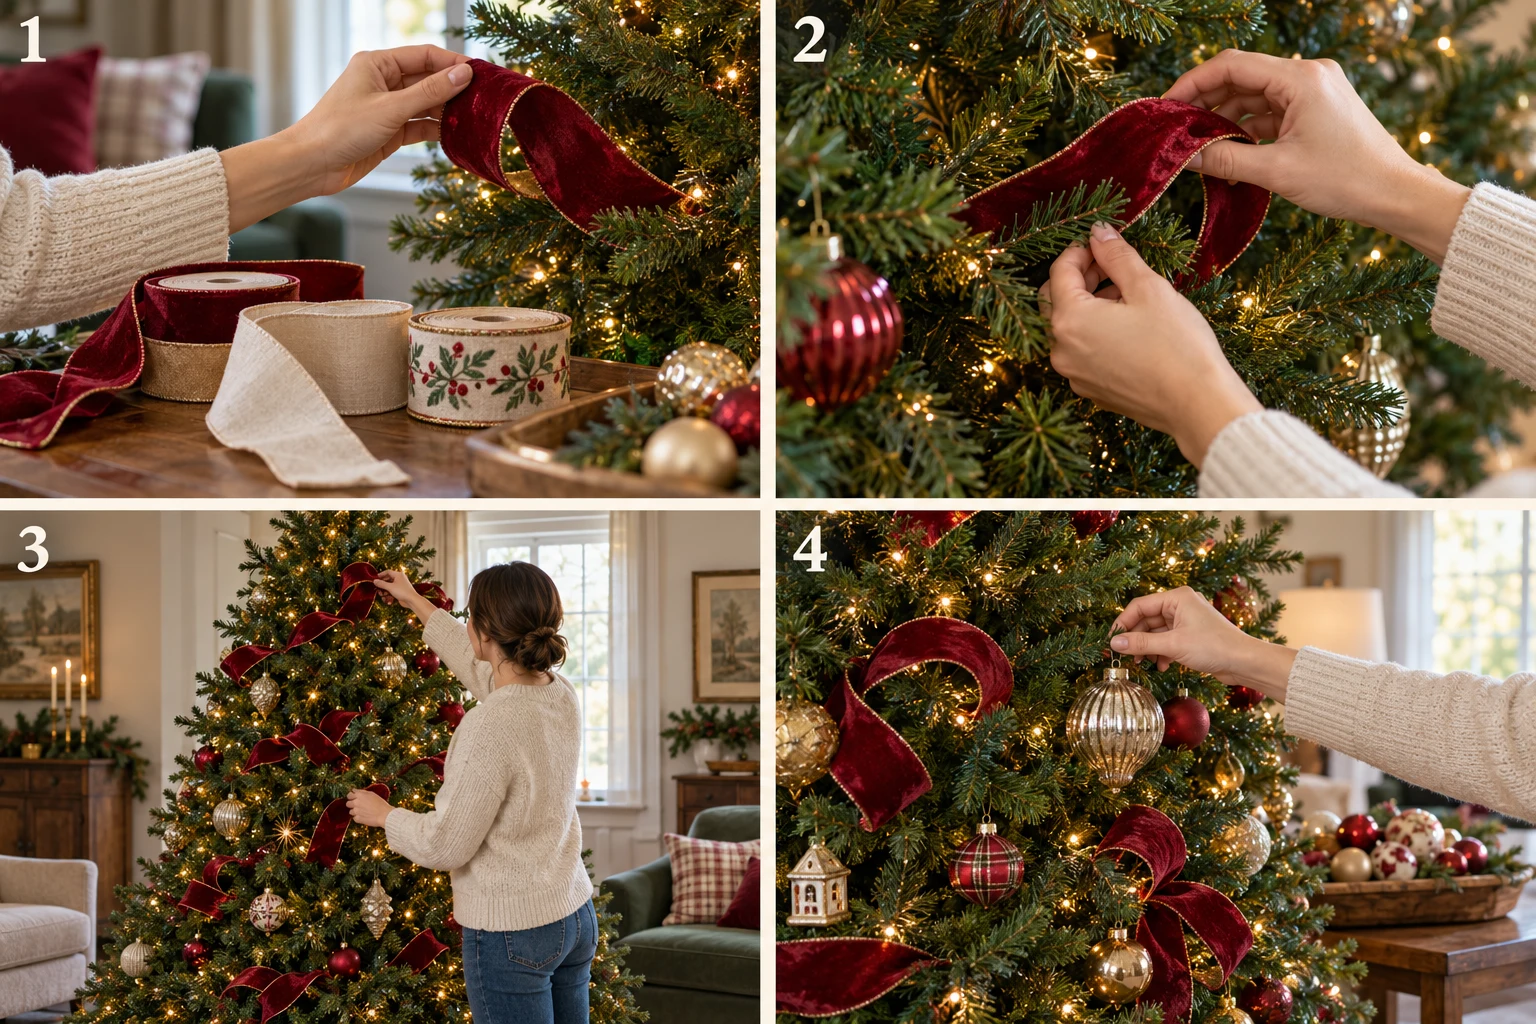
Hold a section against the tree in normal room lighting. A wired edge can help maintain a curve, while a soft linen ribbon makes a more relaxed bow. Choose a width that suits the tree’s scale. Make one sample loop before deciding how much ribbon you need for the full arrangement.
Work with short sections
Cut one manageable piece, fold the ends inward, and nestle it between branches to make a loose curve. Secure it with an appropriate ornament tie rather than pulling branches out of shape. Repeat the effect in a few places, keeping ends away from bulbs and following the lighting product’s safety instructions.
Move around the tree as you work
Place one section near the top, another around the middle, and a third lower down. Then step to the other side before filling gaps. Avoid a straight horizontal stripe unless that is the specific look you want. Uneven intervals usually feel more natural alongside ornaments in different sizes.
Add ornaments after the ribbon
Use larger ornaments to anchor the open areas and place family favorites where they remain visible. Take a photo from across the room and adjust only the ribbon sections that look crowded. When the season ends, remove ties carefully and roll or loosely fold reusable lengths so they are not crushed in storage.